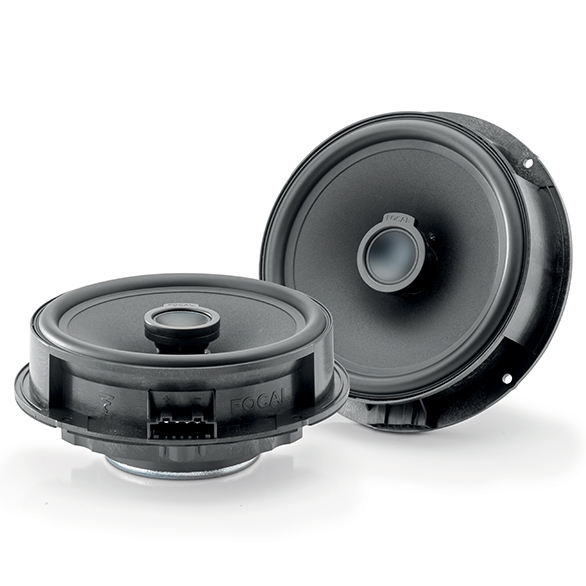
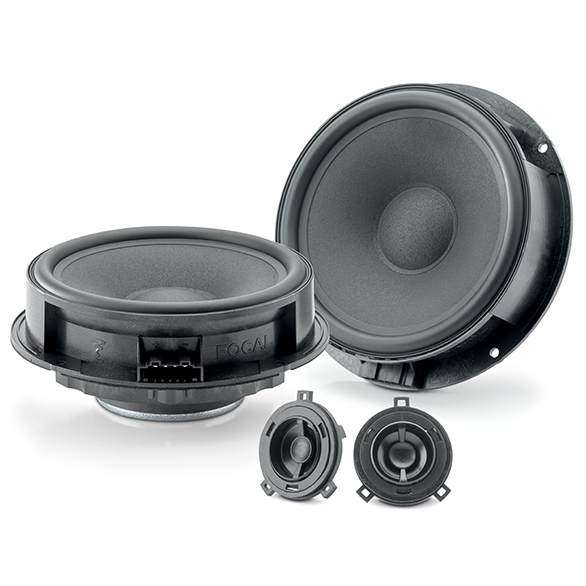
After some tests, I did find that the Basic audio system in the ID.4 is as the name let you know “basic”…
Here is how you can change the audio system to get a much better sound quality.
-
Tools needed, I think it is better to get the official tools from Audi or VW but any plastic tool should work too.


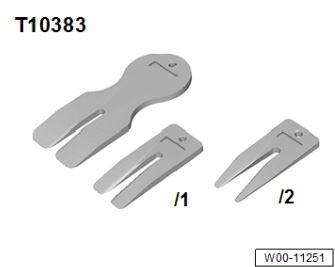
These tools can be brought on eBay.
2. Select the wanted audio gears
Depending on the system you want, you will want to replace the original speakers and add an amplifier to get a cleaner output from your new speaker, the original system is only 4x20watts.
Speakers:
Front and rear speakers are 165mm ( 6.5′ ) the front ones are separated kits while the rear are coaxial ones.
For my car I choose to go with Focal Flax series, but any decent brand should do the work.
Why Focal you may ask, probably because I use them since a lot time and I knew I would not be disappointed with them.
So the specific items I selected are the following:
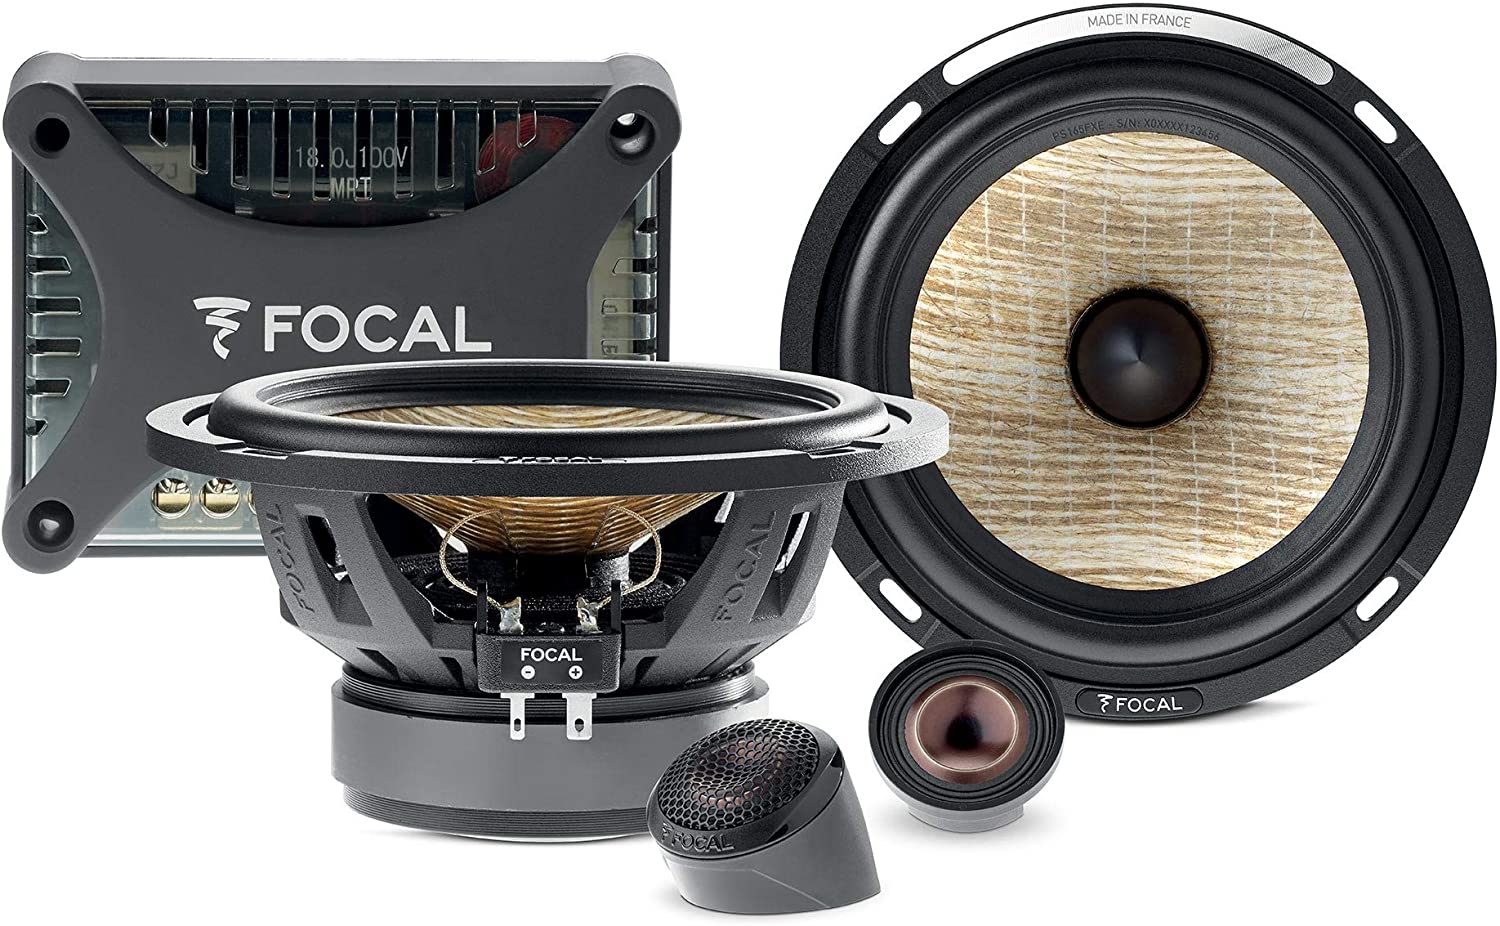
You can find them in local Car audio dealers or on Amazon.
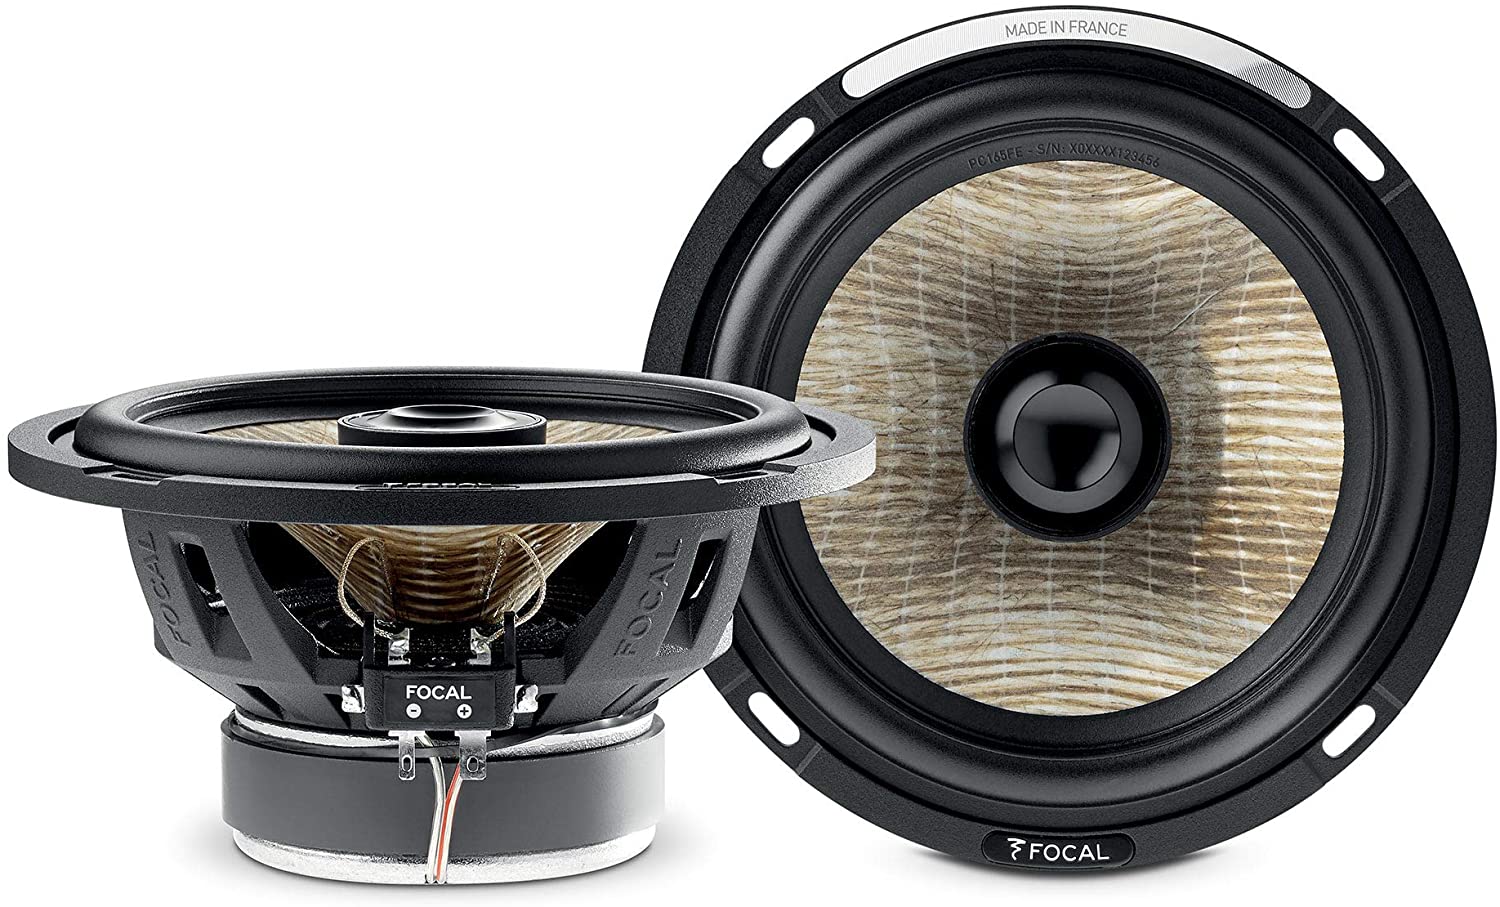
You can find them in local Car audio dealers or on Amazon.
Electronics:
For the amplifier, I choose to go with Focal Impulse 4.320, I took this one because it is a very small 4x55watts amplifier and because Focal provide all the needed cables to connect it to the ID.4 without cutting a single car’s cable, it is really a plug and play setup.
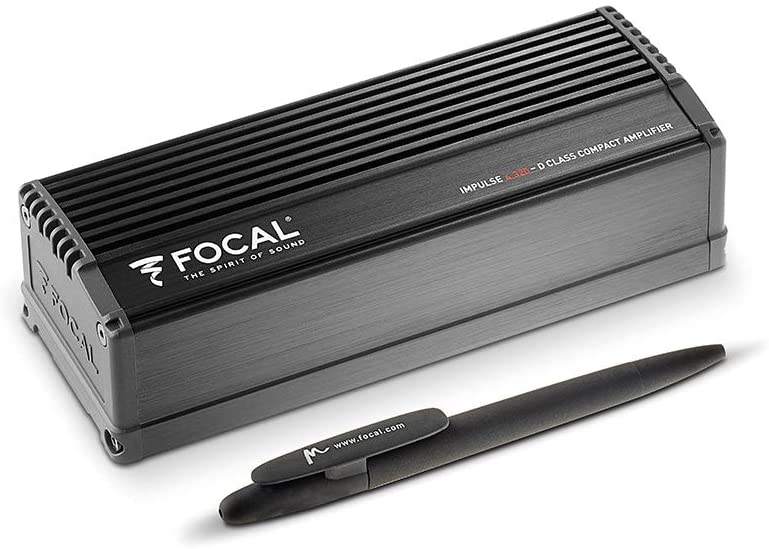
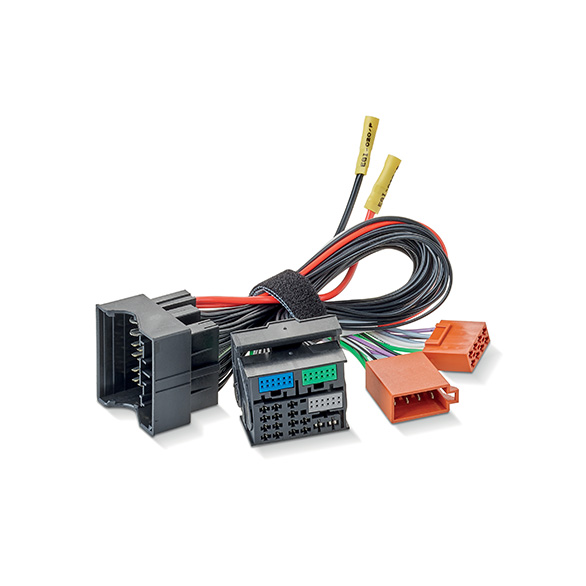
Cable to connect the amplifier between the VW infotainment system and the car, basically steal the power and the speaker output from the stock car audio system and inject the newly powered output from the new amplifier to the car speakers.
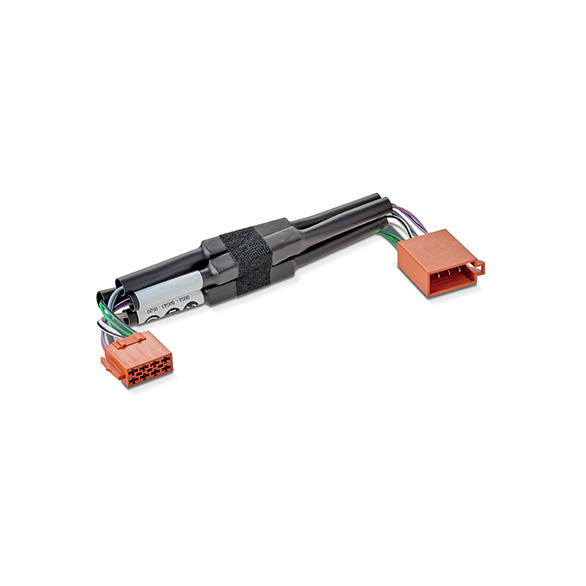
This adapter simulate speakers on the stock infotainment, without it, the car will show an error message and disable some of its features like the front radar and the ACC. This is used to trick the stock system that there are actually speakers connected to the system.
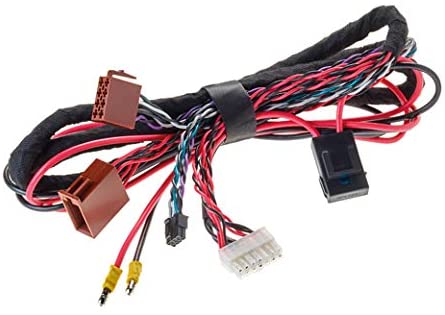
Cable to extend the connection cables so you can hide the amplifier about where you want in the car’s front.
Amplifier installation
You first have to get access to the infotainment system, it is located behind the glove Box, first you have to open and empty the glove box, open it to the max, the front glove box will go out and stay on the car floor.
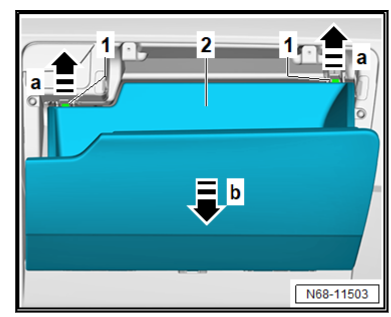
Then look in the compartiment, you will see 4 trox, remove them and remove the upper panel, you will then see the infotainment behind it.
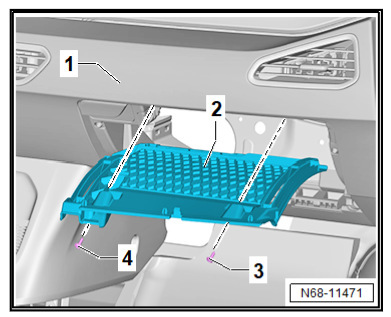
You should now see the infotainment unit un front of you, I don’t have the picture but it is the black box with 2 holder on each sides, press the holder and the unit will freely come to you
The amplifier can be placed behind the glovebox on the right of it, there is a free space that can hold the amplifier and the tweeter filter so don’t close everything right now as you probably want to put the filter there later and you will want to fine tune the amplifier gain.
Tweeter installation
You have to get access to the stock tweeter, prolong the tweeter connection to go to the Focal tweeter and then send the Focal tweeter to the filter the Focal tweeters are pre-wired with about 1m of cable so you should be able to hide the filter somewhere in the front and directly connect the tweeter to the filter.
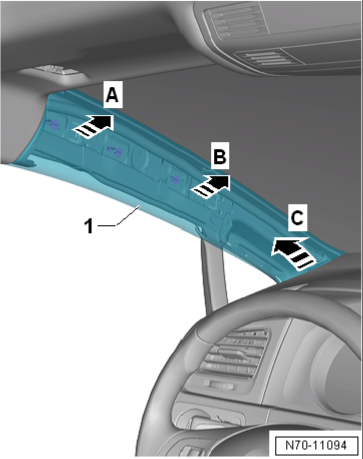
First using the tool T10383/1, remove clip A, then clip B and then slide the whole part, disconnect the tweeter. Clip removal can be hard, don’t give up, it will finally comes to you 😉
Do the same for both tweeters.
Remove the original tweeter


Tweeter installation
Once this is done, you can place your tweeters, fix them as you can depending on your tweeter model, it can be with some kind of wire beheind the car’s tweeter grille or with some glue, you will find a lot of information source on internet, make sure they are fixed and don’t move.
I didn’t removed the Focal grille as they serve to ensure that no parts will touch the tweeter dome ( it would die immediately if something touch it )
Prolong the car’s cable to the filter, connect it to the filter and put some tape around the cable to ensure your connection will never be lost.
Once you have connected the tweeter to the filter, you can put both parts back in place in the car, you will not need access to them anymore.
Don’t hide the filter to far away for the moment as you will perhaps want to fine tune the filters. I don’t have done it as I found the default pleasant.
Door panel removal
This section apply for all 4 door speaker and door panel removal are about the same for all of the doors, some doors have more connectors than others but still the principle is the same and I will not do separate explanation for them, simply be gentle with your door panels and internal connectors.
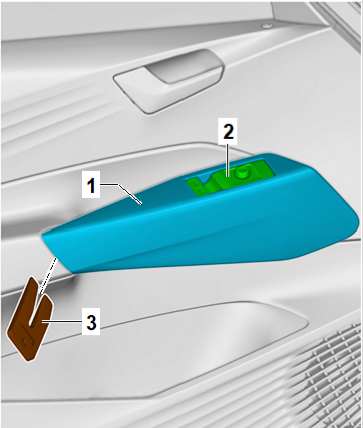
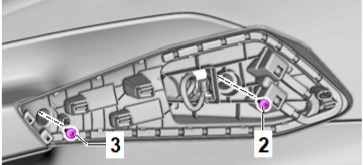
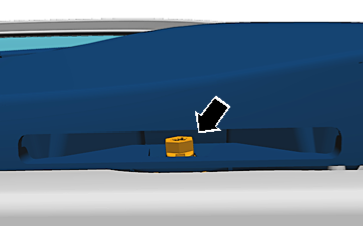
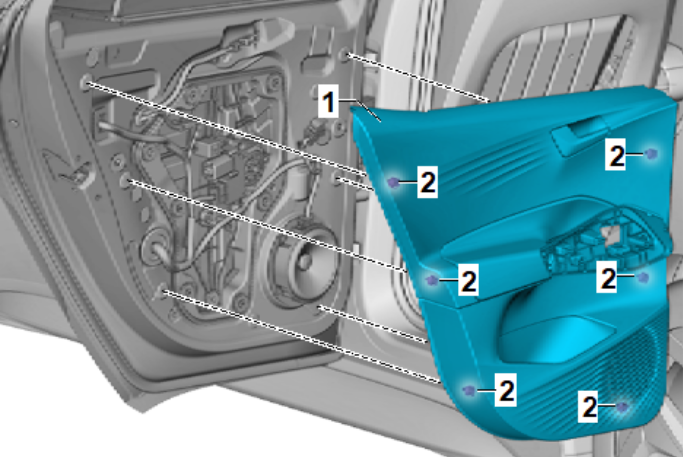
Gently remove the door panel with T10383 /0, disconnect all of the cables
I usually start from bottom external corner and then bottom and then each side.
On YouTube, you can find some generic VW door panel removal, as this is pretty standard, you can watch any of them to get an idea.
If you break some of the holders, you can find them on eBay or by your car dealer, it can be handy to get some spares before the door panel removal.
Speaker removal
To remove the original speakers, you have to drill and remove the 4 bits on each speakers.
Do that gently and slowly to no damage your car door.
Once the speaker is removed, you can install the speaker adapter of you liking.
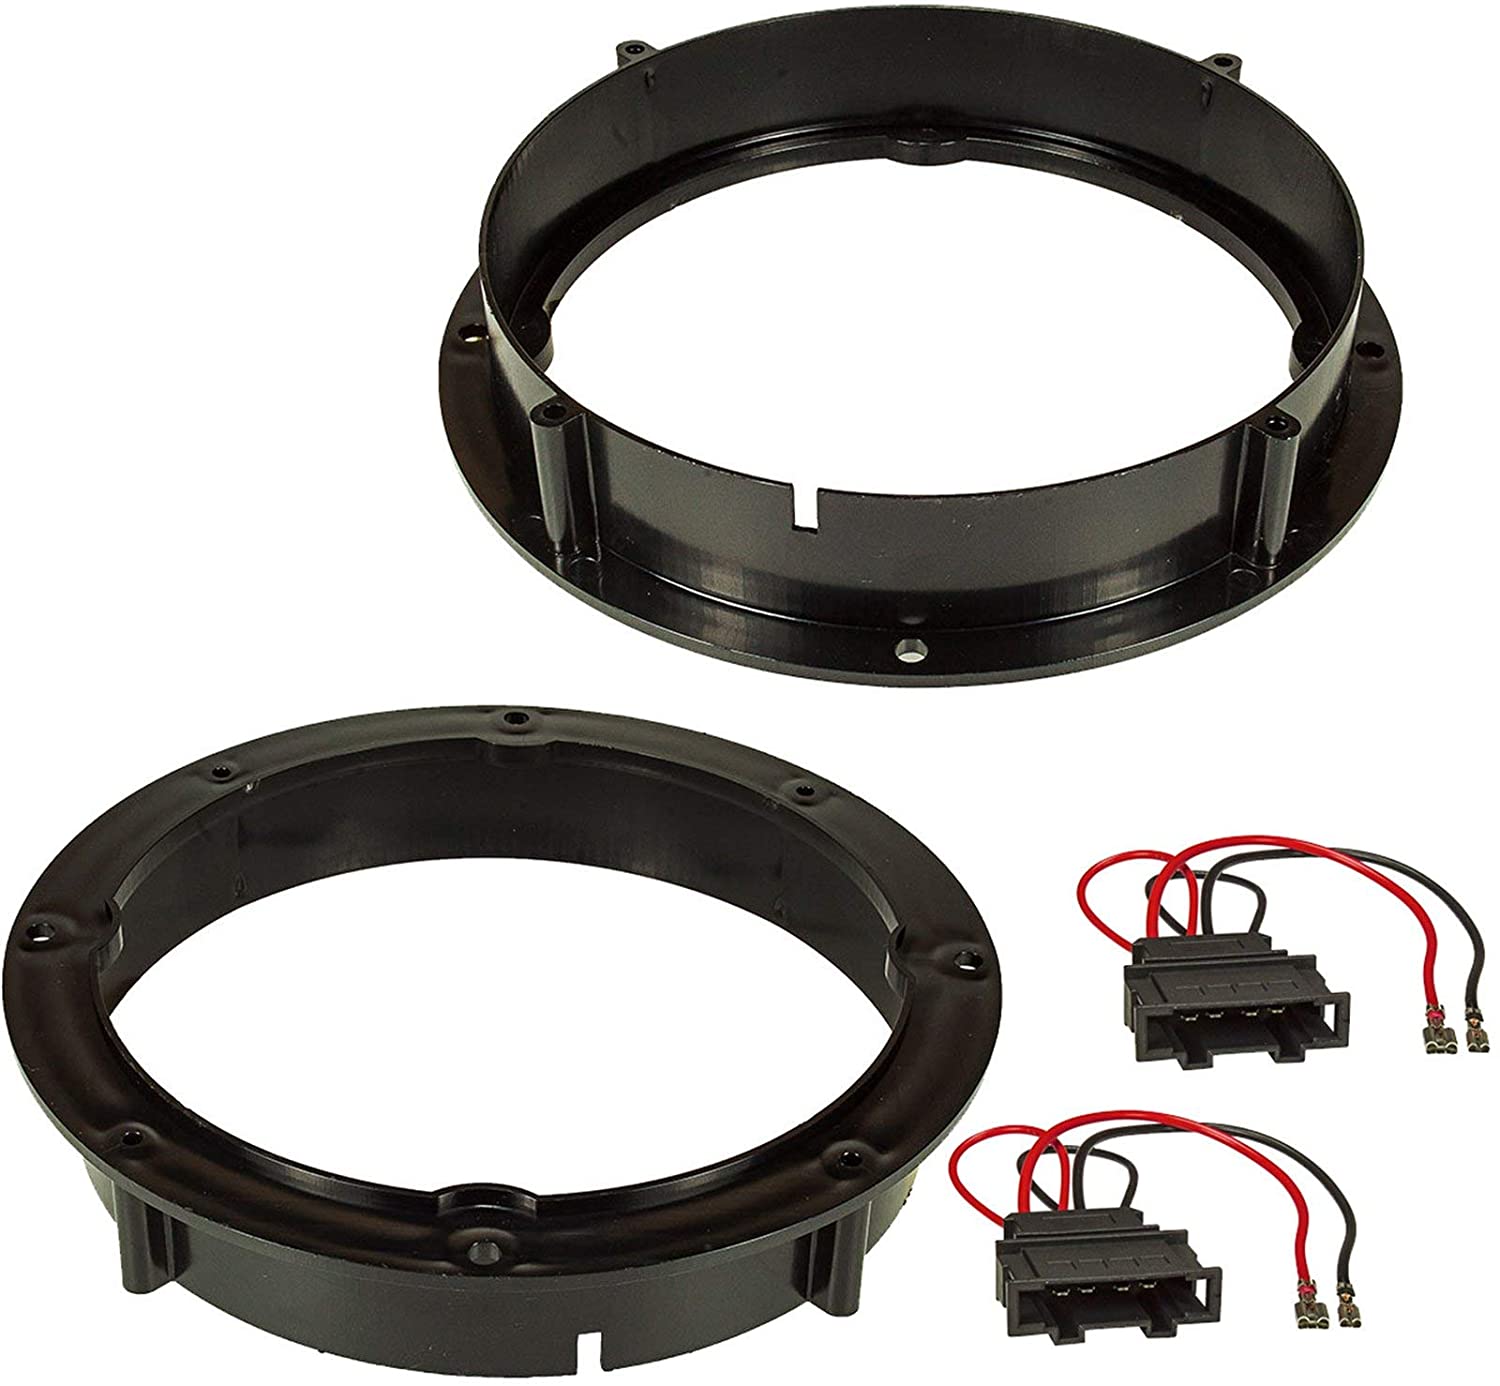
Once the adapters are in place you can install the Focal Woofer in it, keep them out of metallic garbage, clean the work area before hand!
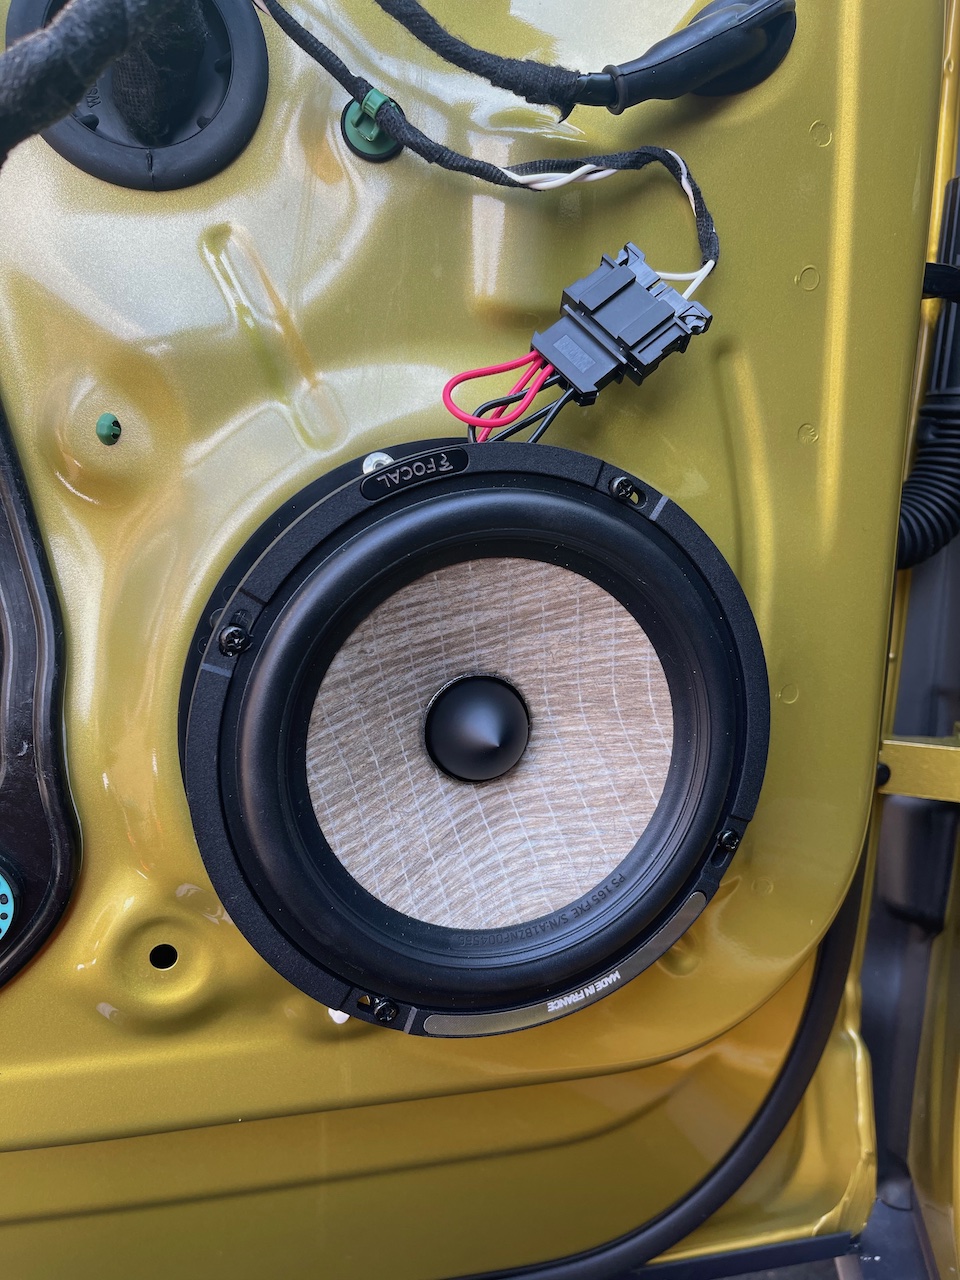
Front speaker installed and connected in the VW ID.4.
Et voilà! The speaker is installed, you can close the door panel using the above instructions in the reverse way.
Some explanations I received from hilld on https://www.vwidtalk.com
- Completely remove the glove box to get it out of your way. There are 2 plastic pins that need to be slid inward and it will come out. Careful, the dampening gear assembly will most likely fall on the floor when dropping the glove box. Make sure you save the 2 pieces as you will have to reinstall them. Once all back together, if your glove box open instantly but goes up slowly, the gear assembly needs to be flipped 180*.
- When installing the tweeters, a hot glue gun works really well to attach the tweeters to the A-Pillar
- When doing the Crossovers (X-over) — you called them filters — You have to cut into the LF and RF speaker wires to provide input into the crossover. White/white-black is for the LF speaker and Grey/grey-black is for the RF speaker.
- You will have to slightly untape the harness to find out which pair of wires are the output vs. the input, they are all taped together.
- Also the speaker simulator needs to go before the amplifier input, not after.
- Finally, when shopping for speaker adapters, they need to be 1.25″ deep otherwise the door panels won’t fit back on.
Final setup
Once all of the speaker are connected, play some sound and verify that you get sound on each newly installed speakers, set the infotainment to flat setting and balanced fader. Adjust the amplifier gain and of needed adjust you tweeter filters.
Remember that speaker kit tend to improve after several hours of use, don’t go to full volume when the speakers are brand new, let them adjust a bit before that.
They are plenty of documentation on the internet and on the Focal website on how to correctly adjust the amplifier gain.
When happy with your setup, hide the filters in the from of the car, fix them in a way they will not interfere with your ability to drive the car and that they don’t move by themself. But don’t fix them too strongly so you can once come back to them in case you want to tweak the setup a bit more.
The same apply for the amplifier, fix it to the right of the glove box with some plastic straps so you can still come back to it to change the gain if you did a mistake.
Final ideas
If you find it to be too tricky, you can go with the Focal plug and play lineup, you will have no problem fixing the tweeter, the car cables are not altered in any way and all of the newly installed speaker use the original cables, the woofer is directly compatible and don’t need any adapter. It would still be better to get the amplifier anyway.
The current Focal product number are :
